CLI Languages
In this modules we'll introduce Command Line Interface (CLI) languages often referred to as shell or terminal programming.
📚 Watch and Read
- Login to codecademy using your github account and click the orange
STARTbutton on Codecademy's Learn the Command Line course. - Complete the first 2 modules in this course:
- Navigating the File System
- Viewing and Changing the File System
Navigating the File System has 9 lessons which can be found by clicking the menu icon in the lower left hand corner of the codecademy screen.
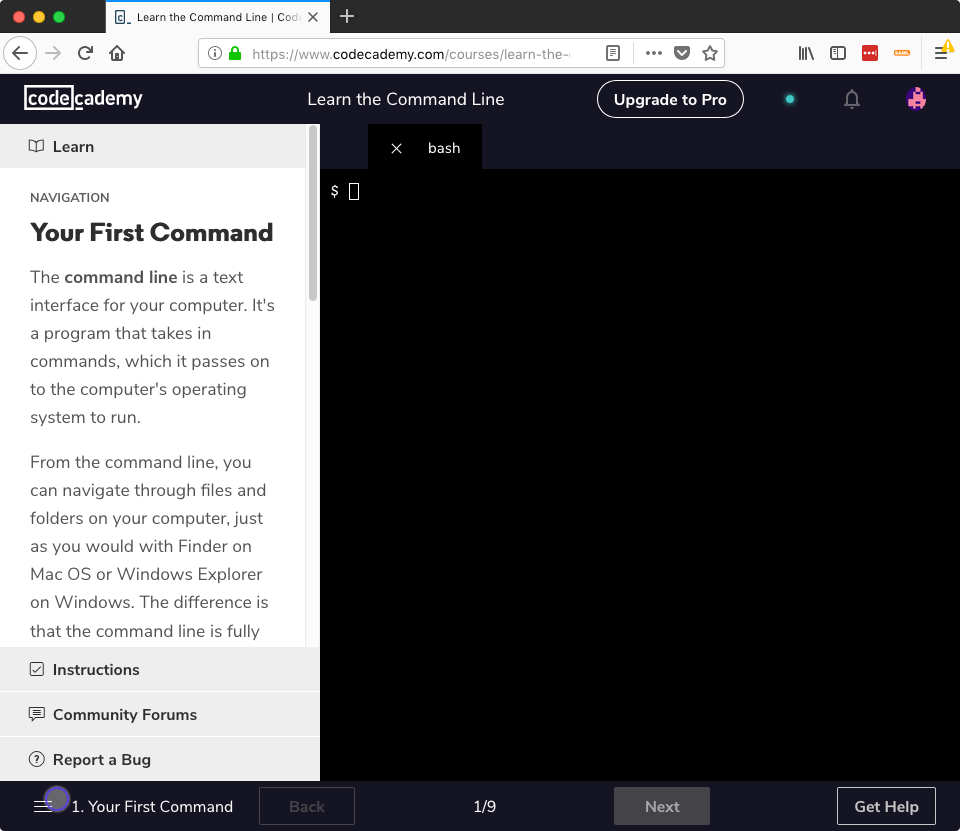
In the Navigation module, you'll learn about the following commands:
pwdoutputs the name of the current working directory.lslists all files and directories in the working directory.cdswitches you into the directory you specify.mkdircreates a new directory in the working directory.touchcreates a new file inside the working directory.
After completing these 9 lessons click Next to move to the next module.
No upgrade necessary
Remember, you do not have to upgrade to codecademy pro.
In the Manipulation module, you'll learn about:
- options that modify what
lsandcpdo - how wildcards allow you to select groups of files or directories
Play
Trying out CLI commands on your computer can be scary and potentially damaging to your computer. Use the Glitch terminal to play around with commands you learn without any risk to your computer.
Here's a video showing the steps below.
Login to glitch.com using your github account and click the New Project button in the upper right
Select
hello-webpagefrom the dropdownClick
Logsonce your project has loaded and you see the Glitch editor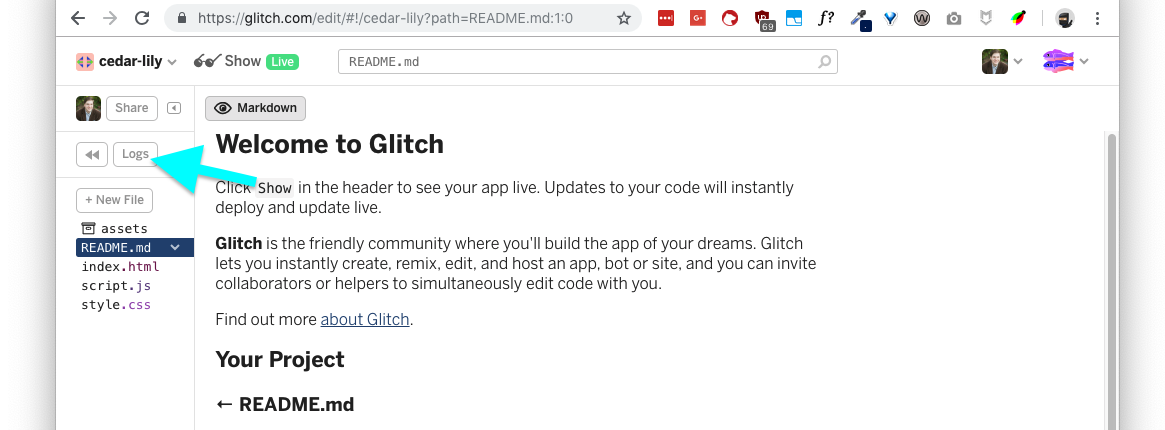
Click
Consoleand drag the top of the logs pane up to make it bigger. I like to have mine on one half of the screen while the instructions I'm following on are the other half as shown below.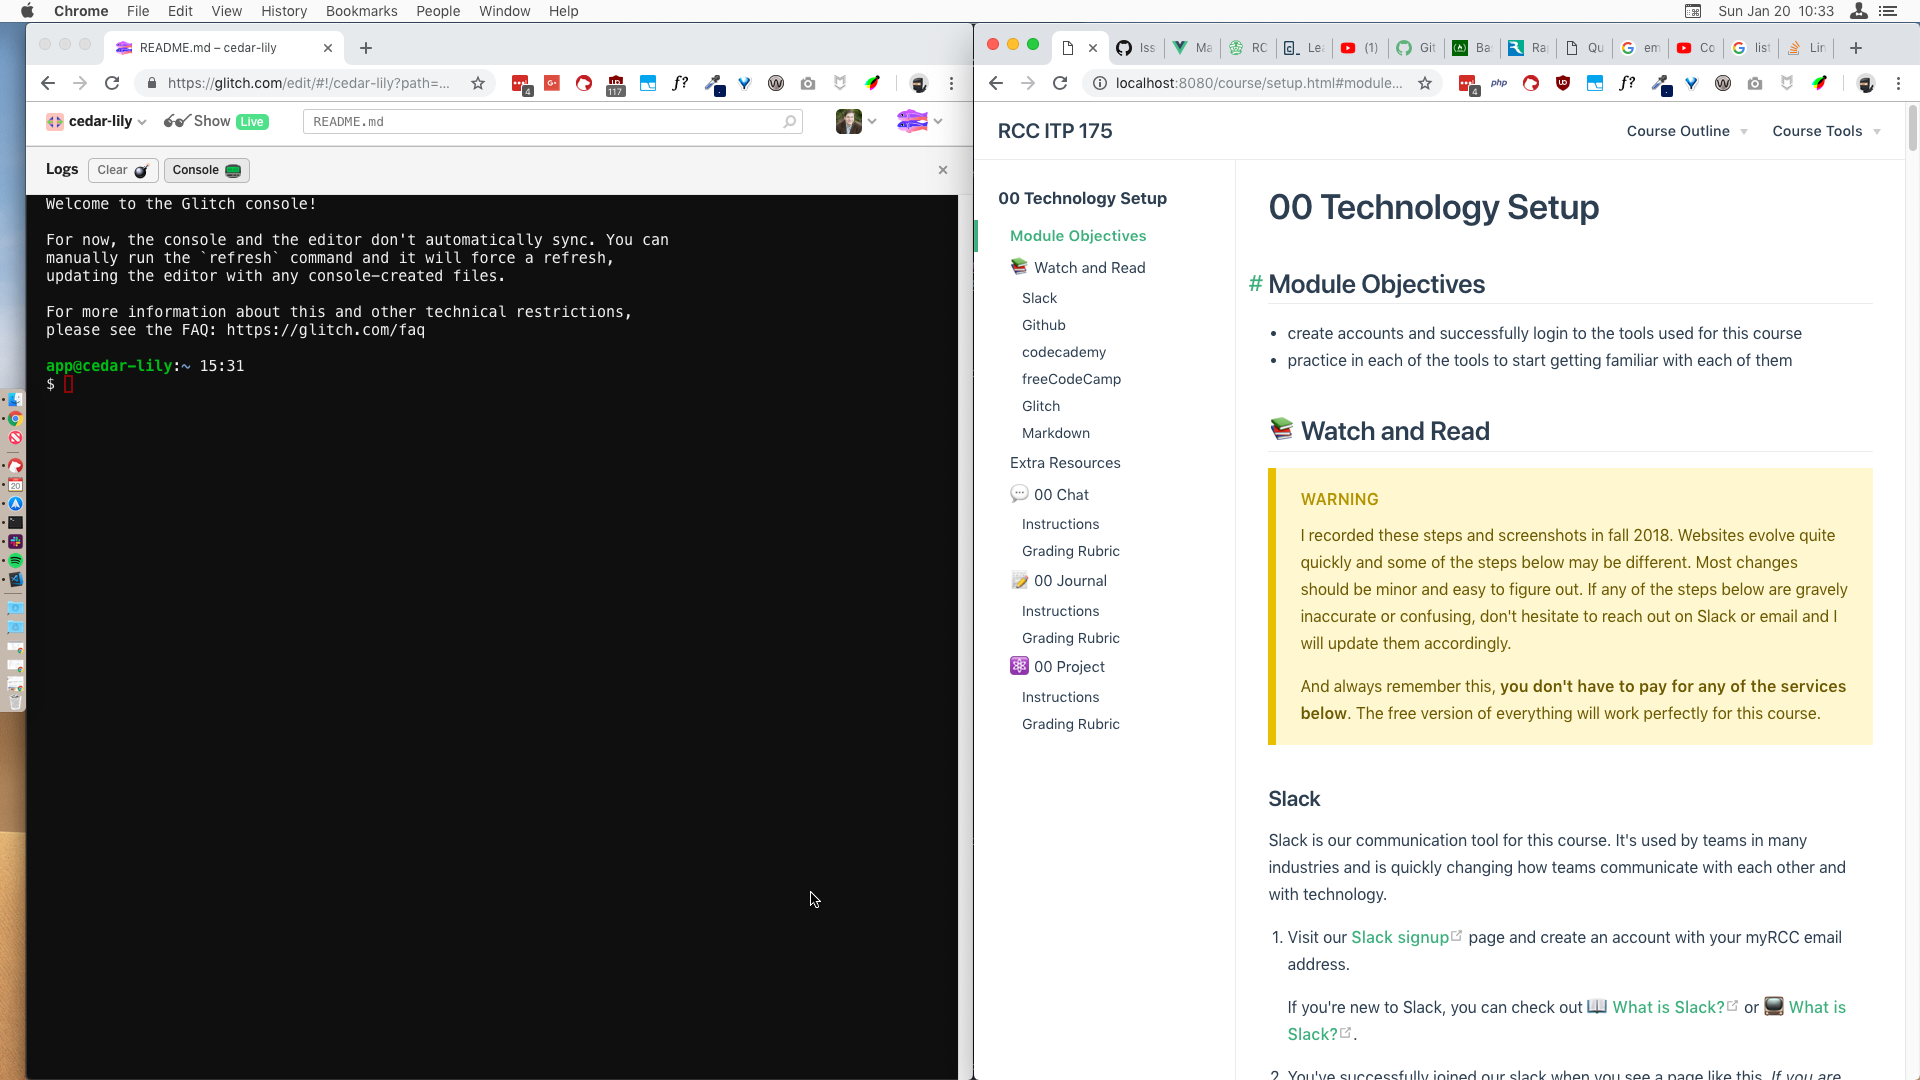
Now you can play with any of the commands you learned on codecademy in the Glitch console. Your Glitch application is actually your own dedicated Linux server. Type
uname -ain the console to see exactly what operating system you're on. You should see something similar to the output below.Linux 9f5c7ccb2b3c 4.4.0-1074-aws #84-Ubuntu SMP Thu Dec 6 08:57:58 UTC 2018 x86_64 x86_64 x86_64 GNU/LinuxType
compgen -cinto the Glitch console to see all the possible commands you can run on that machine.All the commands covered in codecademy this week are in that list, including
ls. Typeman lsto open the manual for thelscommand.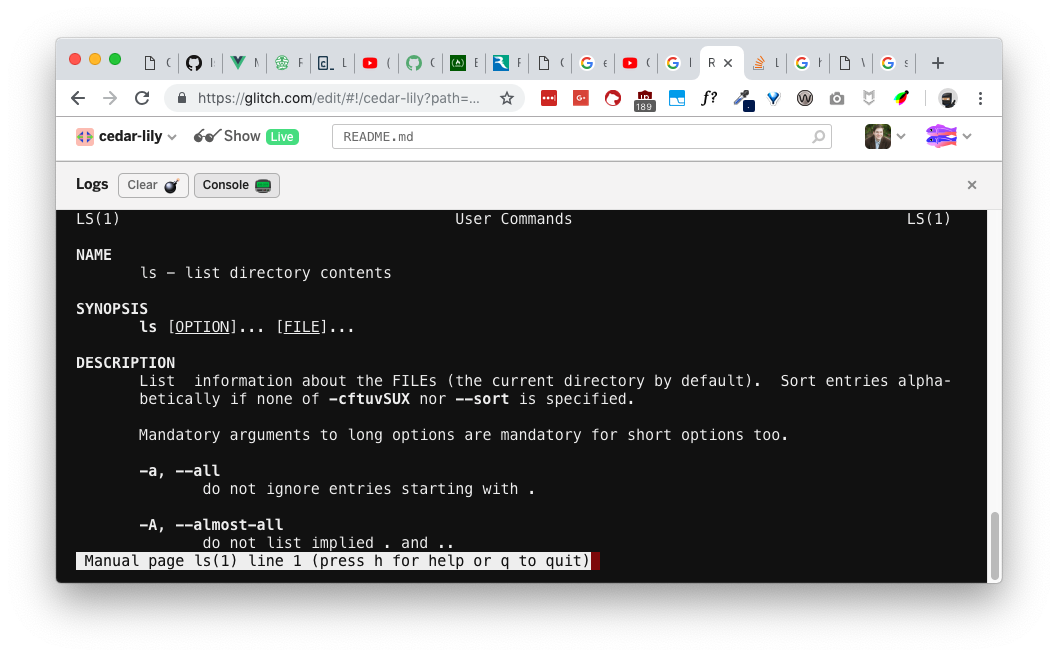
Hit the letter
hon your keyboard to open the help for the manual. The manual and help are keyboard driven as are several other commands in the console. It is useful to know how to get around without getting frustrated.The first section of the help is on moving around. Hold
jto scroll down the document. Holdkto scroll up.Hit
fto move forward one window. Imagine the manual as a book, hittingfis like flipping forward one page. Hitbto flip back one page.Hit
qto exit the help and get back to the manual. When you're finished reading the manual, hitqto exit the manual and go back to your regular console.
Extra Resources
- 📺 thenewboston playlist on Windows Command Prompt
- 📖 djangogirls.com Intro to Command Line
- 📖 ss64.com command line reference
💬 01 Chat
Due: 01/28/19 9 AM
Instructions
The purpose of this chat is to practice self-driven learning and collaboration skills, both of which are critical for sustained growth as careers in technical fields including cybersecurity change rapidly.
Open the Glitch console and follow the Play instructions above.
Select one of the commands listed in
compgen -cthat wasn't covered in the codecademy lesson and open the manual to learn what it does and how to use it.TIP
The manual isn't always the easiest thing to understand, especially for new programmers. Some Google searching can often help understand what the command does and how to use it.
Exit the manual for the command by hitting
q.Use the command in the Glitch console.
Take a screenshot that shows your use of the command and the output in the Glitch console.
This post from Zapier covers how to take screenshots on most platforms.
Find a website or other resource that explains why or how the command is used to solve a problem.
Join the the #sp19-01-chat Slack channel and share what you've learned and done.
Grading Rubric
| % | Explanation |
|---|---|
| 25% | Using a new command not covered in the codecademy lesson. |
| 25% | Share the screenshot showing how you used the command in glitch during step 3. |
| 25% | Share the URL of the resources you found earlier in step 5. |
| 25% | Chat with your fellow students. Engage them on what you find interesting about their examples, get clarity on something you don't understand, offer help with others ask questions about your example. |
You can always send me questions privately via email, txt, or Direct Message. But I encourage you to ask them in #q-and-a or in the channel for that assignment (like #sp19-01-chat) so that you and your fellow students can help each other out. Learning and programming are not solo sports!
📝 01 Journal
Due: 01/28/19 9 AM
The purpose of this journal is to review the concepts covered this week and reflect on how well you understand them.
Instructions
Visit my codecademy profile and click the Badges button in the middle of the page
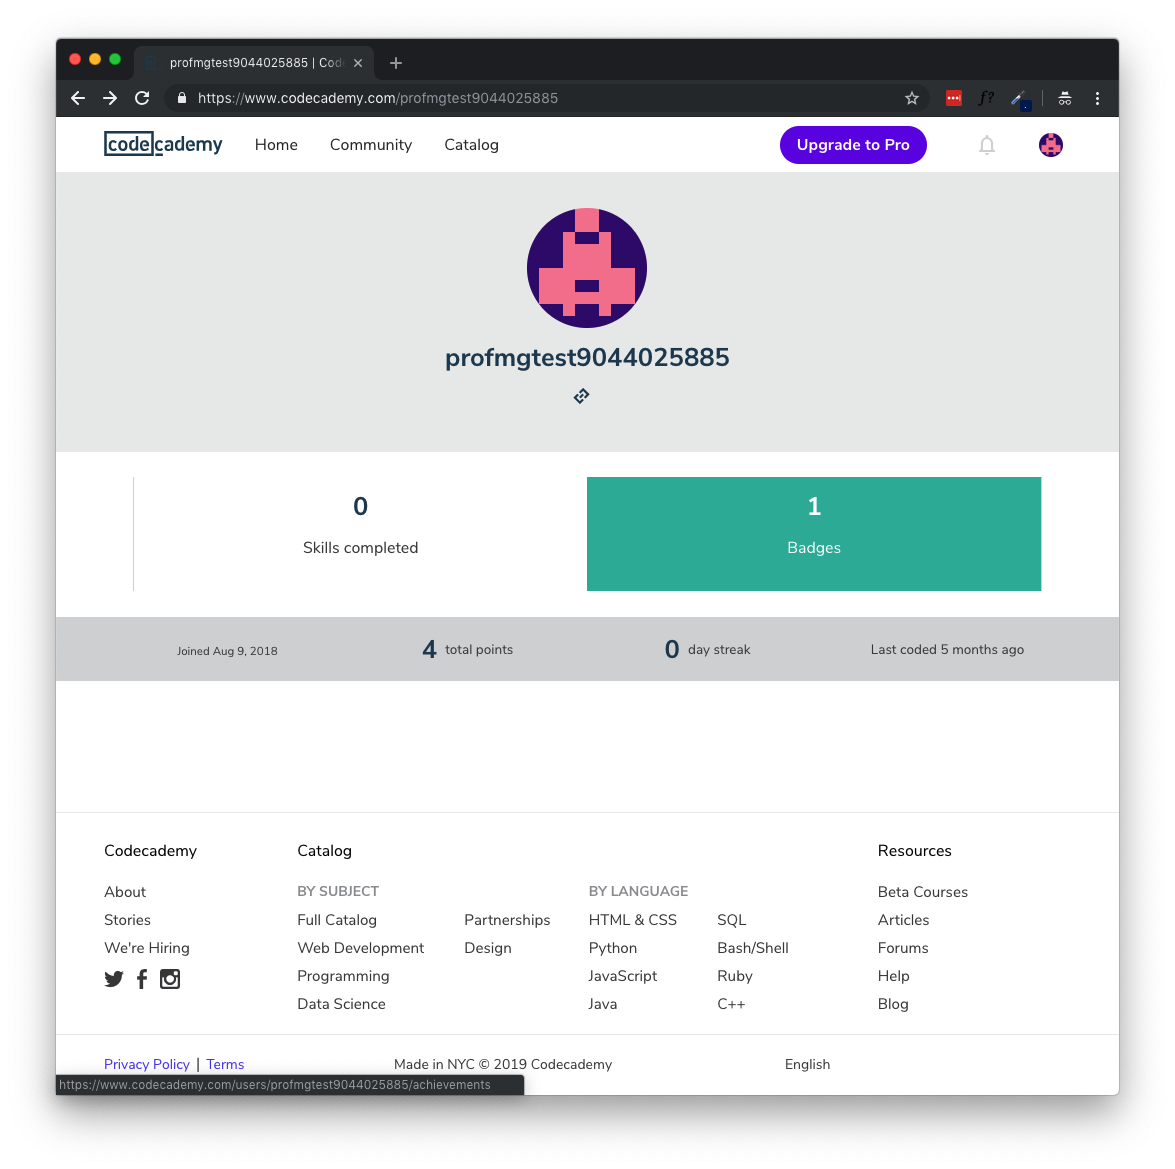
Copy the URL of your profile and paste it in a
Direct Message(DM) to Michael Greene (profmikegreene)Also in a DM, write two lists.
- One for the things you understand most confidently
- One for the things you are struggling with.
The items in these lists can be vocabulary, assignment tasks, concepts, whatever sticks out in your mind. Try to find at least two items per list and feel free to make them as long as you like.
Grading Rubric
| % | Explanation |
|---|---|
| 20% | Direct message to profmikegreene containing the URL of your codecademy profile |
| 40% | Direct message to profmikegreene containing a list of things you are confident you understand |
| 40% | Direct message to profmikegreene containing a list of things you are struggling with |
⚛️ 01 Project
Due: 01/28/19 9 AM
The purpose of this project is to prove your understanding of the concepts in this lesson.
Instructions
Click
Channelsin the Slack sidebar to view all channelsFind and join the sp19-01-project slack channel
In that Slack channel, you will see a link that will take you to Github Classroom
Click the
Accept this assignmentbutton and Github will create a version of the project for you.Once this step is complete, the page should say "Your assignment has been created here: https://github.com/RCC-ITP-175/sp19-01-". Click that link to move onto the next step.
TIP
You don't have to remember that link, you can always visit github.com and you should now see a repository in the list on the left that starts with
RCC-ITP-175/sp19-01-and ends with your Github username.WARNING
Reach out to the professor if you have issues getting to this stage. Do NOT Wait!!
In your repository, there is a
commands.shfile. Click to open it.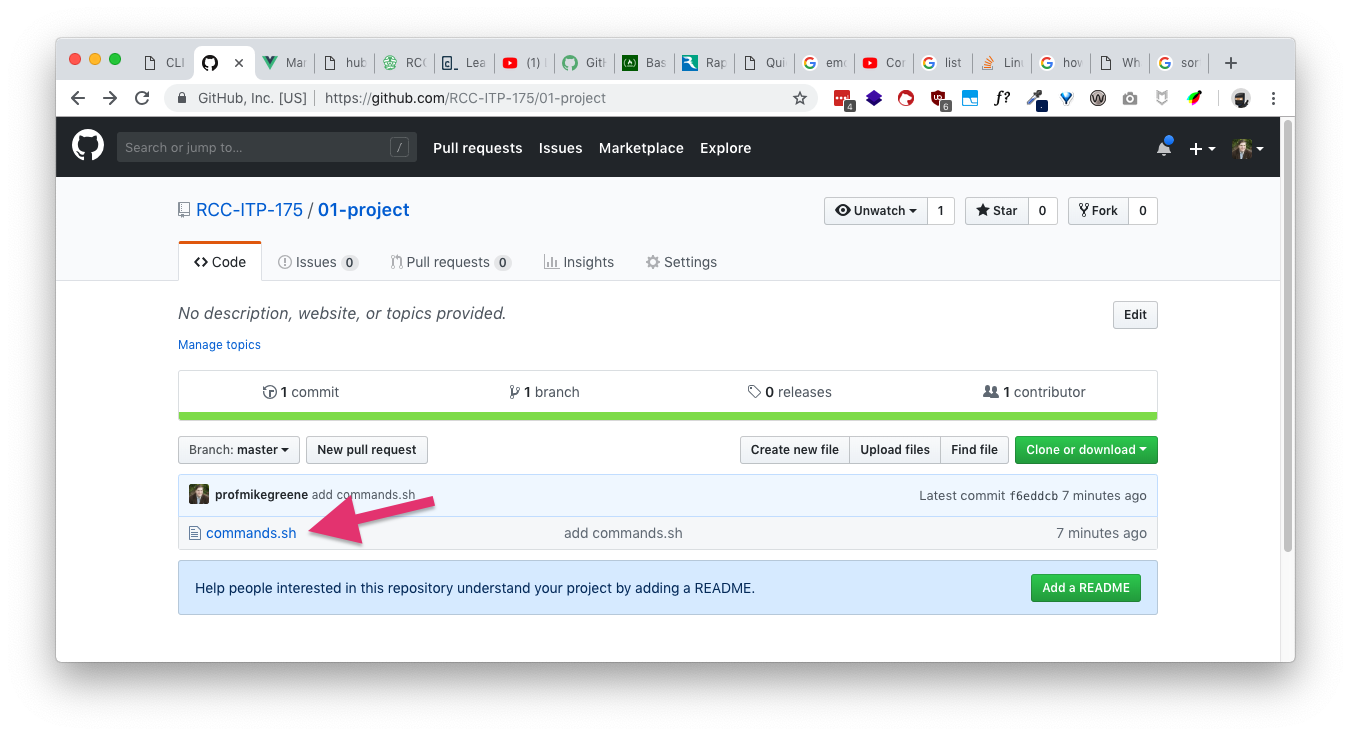
Click the pencil icon to edit the file.
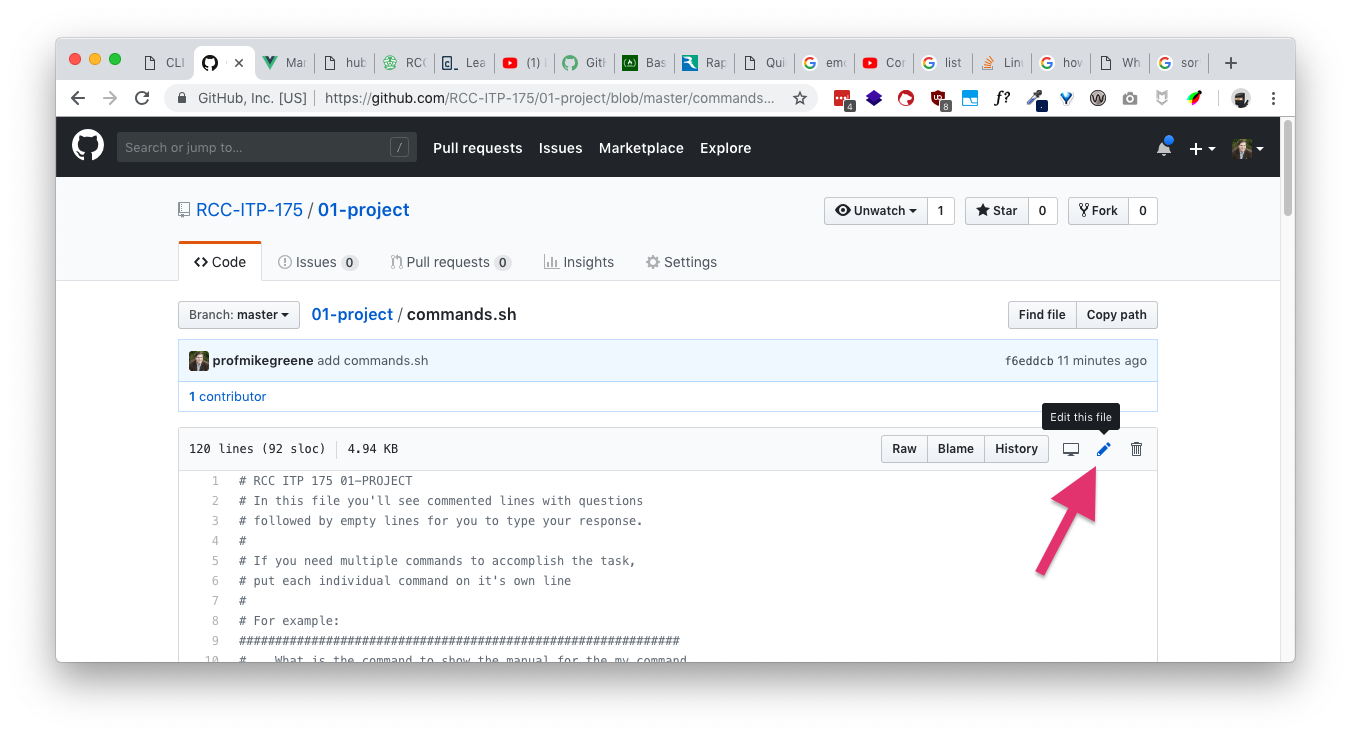
There are 13 questions for you to answer by typing the commands necessary to complete the requirements.
Scroll down and you'll see a section called
Commit changesto save your work. In the smaller textbox type,update commands.shand select the Commit directly to themasterbranch option.TIP
On github, a commit is like hitting a "save and upload" button. You can commit changes as many times as you like.
When you are finished answering all the questions,
Commit changesone last time.
Grading Rubric
| pts | Explanation |
|---|---|
| 11 | Completing the Github Classroom process and creating a sp19-01-project repository |
| 39 | Each of the 13 questions is worth 3 points. |